因為畢業設計需要,做了一點點鼠標和鍵盤模擬的測試,收獲了一點關于Robot知識,這是一個非常有趣的類,此類用于測試自動化,自運行演示程序和其他需要控制鼠標和鍵盤的應用程序生成本機系統輸入事件。Robot類主要目的是便于java平臺實現自動測試。主要方法如下:動作都在java.awt.event包中的KeyEvent和MouseEvent中定義
- void keyPress(int keycode)按下給定的鍵
- void keyRelease(int keycode)釋放給定的鍵
- void mouseMove(int x, int y)將鼠標指針移動到給定屏幕坐標
- void mousePress(int buttons)按下一個或多個鼠標按鈕
- void mouseRelease(int buttons)釋放一個或多個鼠標按鈕
- void mouseWheel(int wheelAmt)在配有滾輪的鼠標旋轉滾輪
- BufferedImage createScreenCapture(Rectangle screenRect)創建包含從屏幕中讀取的像素的圖像
第一個例子是鼠標模擬測試,在多線程中每隔1s隨機移動鼠標,一共隨機6次鼠標閃爍,源碼如下:
/*
* MouseSimulate.java
*
* Created on 2007-5-7, 4:03:04
*
* To change this template, choose Tools | Template Manager
* and open the template in the editor.
*/
package cn.edu.yutao;
import java.awt.AWTException;
import java.awt.Dimension;
import java.awt.Robot;
import java.awt.Toolkit;
import java.awt.event.InputEvent;
import java.util.Random;
/**
*
* @author Aslan
*/
public class MouseSimulate implements Runnable{
private volatile boolean isRunning = false;
private Robot robot;
private Dimension dim;
private Random random;
public MouseSimulate() {
random = new Random();
dim = Toolkit.getDefaultToolkit().getScreenSize();
try{
robot = new Robot();
}catch(AWTException e){
e.printStackTrace();
}
}
public void run() {
while(isRunning){
int x = random.nextInt((int)dim.getWidth());
int y = random.nextInt((int)dim.getHeight());
System.out.println("the mouse located in (" + x + "," + y + ")");
robot.mouseMove(x, y);
robot.mousePress(InputEvent.BUTTON1_MASK);
try{
Thread.sleep(1000);
}catch(InterruptedException e){
e.printStackTrace();
}
}
}
public synchronized void start(){
isRunning = true;
}
public synchronized void stop(){
isRunning = false;
}
public static void main(String[] args){
MouseSimulate test = new MouseSimulate();
test.start();
System.out.println("-----------time start-------------");
Thread thread = new Thread(test);
thread.start();
try{
Thread.sleep(10000);
}catch(InterruptedException e){
e.printStackTrace();
}
test.stop();
System.out.println("-----------time stop--------------");
}
}
Robot類的方法createScreenCapture可以簡單的用于抓取屏幕圖片,可以在java應用程序中直接調用該方法抓取屏幕,檢測遠程電腦屏幕狀態,這里參考了java社區的例子,默認構造函數生成后綴為png的文件,可以在第二個構造函數傳入其他名稱,支持gif和jpg。截圖程序源碼如下:
/*
* GuiCamera.java
*
* Created on 2007-5-7, 4:18:46
*
* To change this template, choose Tools | Template Manager
* and open the template in the editor.
*/
package cn.edu.yutao;
import java.awt.Dimension;
import java.awt.Rectangle;
import java.awt.Robot;
import java.awt.Toolkit;
import java.awt.image.BufferedImage;
import java.io.File;
import javax.imageio.ImageIO;
/**
*
* @author Aslan
*/
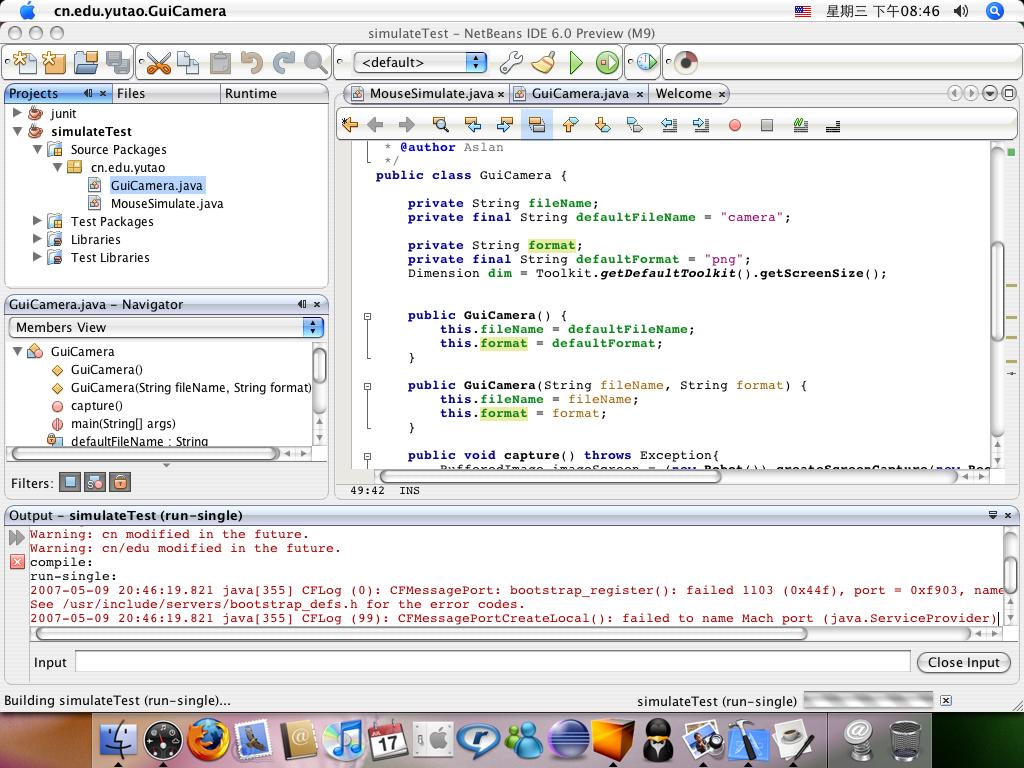
public class GuiCamera {
private String fileName;
private final String defaultFileName = "camera";
private String format;
private final String defaultFormat = "png";
Dimension dim = Toolkit.getDefaultToolkit().getScreenSize();
public GuiCamera() {
this.fileName = defaultFileName;
this.format = defaultFormat;
}
public GuiCamera(String fileName, String format) {
this.fileName = fileName;
this.format = format;
}
public void capture() throws Exception{
BufferedImage imageScreen = (new Robot()).createScreenCapture(new Rectangle((int)dim.getWidth(), (int)dim.getHeight()));
String imageName = this.fileName + "." + this.format;
File file = new File(imageName);
System.out.println("Save file " + imageName);
ImageIO.write(imageScreen, format, file);
System.out.println("Finished!!");
}
public static void main(String[] args){
GuiCamera camera = new GuiCamera("hello", "jpg");
try{
camera.capture();
}catch(Exception e){
e.printStackTrace();
}
}
}
以上程序都在mac os 10.4.8下測試,截圖為 很漂亮~ 出現警告是因為某些api在jdk6中已經標記為廢棄。